
Selling online can be daunting for first-time Users, so we at WinWinX have put together this guide to take some of the guesswork out of it!
Product imagery is one of the most important elements of your Product Listing as potential Buyers don’t get the chance to touch and feel your product.
They need you to show your product in a way that communicates all its advantages and gives a realistic picture of what they will receive.
Check out some of our tips for taking great Product Listing photos below!

- Clean the Product
This is the first and most important step. Your potential Buyers want to feel like they are the true owners of the product you are selling and don’t want evidence that someone else has used the product. Make sure to remove any dust, smudges, wrinkles, stains, fingerprints, etc. that could immediately make them feel that the product is tired or too used.
- Capture High-Quality Photos
We are lucky enough to live in a time when most people have a high-quality camera at their fingertips – their phone! Whether you have a Samsung, Apple, or any other brand, take some time to learn the features of your camera, and don’t be afraid to practice with a few different items to really get a feel for it!
- Use Lighting to Your Advantage
Lighting is hugely important to how a photo will turn out. You can shoot your products indoors or outdoors with natural or artificial lighting. Try to position the product so that the lighting picks up all the details of your product and make sure shadows are not obstructing features on your product.
- Remove Distractions
When setting up your product to take photos, make sure there are only the elements that you have decided to include in the shot. Remove unwanted items from around the product and make sure nothing is on display in the background. Mirrors and reflective screens can be especially tricky and it is important to check that there isn’t anything showing up in the mirror or screen that you don’t want to include. Always review your photos as you are taking them and make changes as necessary.
- Set the scene
Choose a few props that set the scene with the product but do not overpower it. If you are selling a mug, place it on a clean surface on top of a coaster or next to a book. Let the potential Buyer see how the mug would fit into their life!
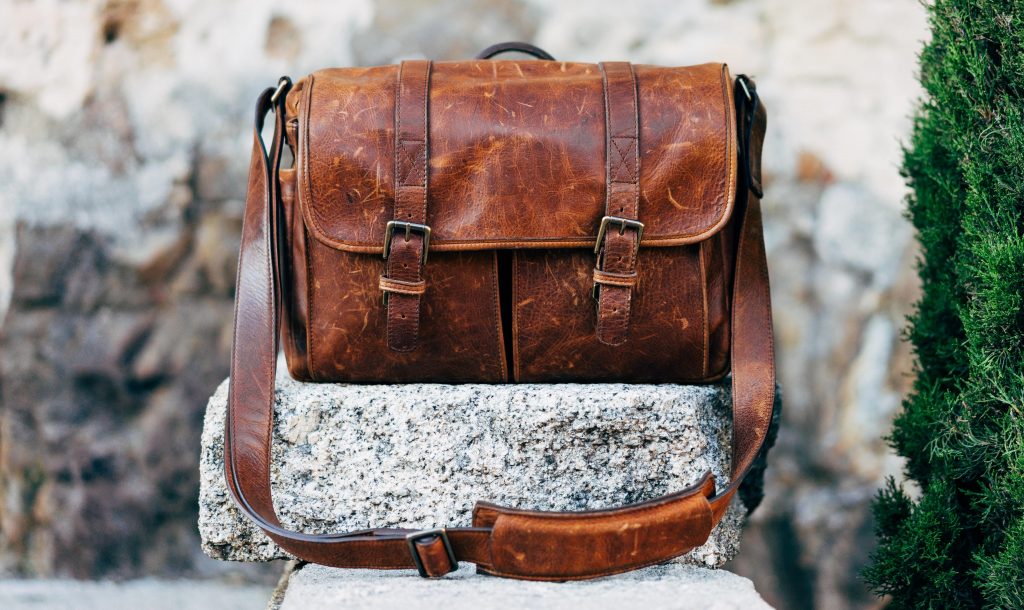
- Pick your background
A nice background can make a big difference. Whether it is a clean white to make the product pop or a bright textured background to bring out certain features, make your backgrounds intentional. Consistency is key so once you find a background that works for your product take photos with the product at different angles.
You are now ready to start taking great product photos for your Product Listing on the WinWinX Marketplace! We always suggest a minimum of at least 2 photos that show the product from all angles and that gives your potential Buyers a true feeling for the product.
Have additional questions or tips we should add to this guide? Email us at support@winwinx.com because we’d love to hear from you!